The bathroom is a key place where homeowners start and end their days. It’s also a room often left out of home improvement plans. Doing the work yourself, especially the big steps like gutting, can save you up to thousands of dollars1. This guide offers down-to-earth advice, practical tips, and detailed info. It’s all you need for a successful bathroom makeover. We’ll cover the main benefits and points to think about for each remodeling option.
Key Takeaways
- Bathroom renovations can save thousands compared to professional contractors.
- Essential tools for DIY bathroom remodels include safety gear, caulking gun, and power tools.
- Proper demolition and preparation are crucial for a smooth renovation process.
- Selecting the right fixtures, flooring, and finishes can transform a bathroom’s look and feel.
- Attention to detail and finishing touches are vital for a complete, polished renovation.
Planning Your DIY Bathroom Remodel
First, pick a design that matches your vision and skills. This could be as simple as a new paint job or as complex as a full gut and redo. Make sure you know your color scheme, fixtures, and where stuff will be stored. Finding your electric and plumbing lines early on is key. This prevents a lot of headache.1
Decide on Design Elements
Choose a color scheme to set your bathroom’s mood, whether it’s cozy or sleek. Then, think about the new fixtures you want, like showers or sinks. These choices affect how long your project will take and how much it will cost.2
Consider Color Schemes and Fixtures
Don’t forget about storage for towels, soaps, and more. This is especially important if you’re making more space by removing a closet. Add in shelves or cabinets as needed.2
Determine Storage Needs
Know where your electrical and plumbing systems are to prevent accidents during work. Keep these areas clear to move around safely.2
Locate Utilities Before Starting
Planning every detail at the start ensures a smoother project. This helps your remodel to turn out how you want it, without going over budget.
Essential Tools for a DIY Bathroom Renovation
Embarking on a DIY bathroom renovation means having the right tools ready. They significantly improve your work’s efficiency and success. Besides what’s in your toolbox, certain essential and recommended tools will make the job easier.
Basic Tools and Supplies
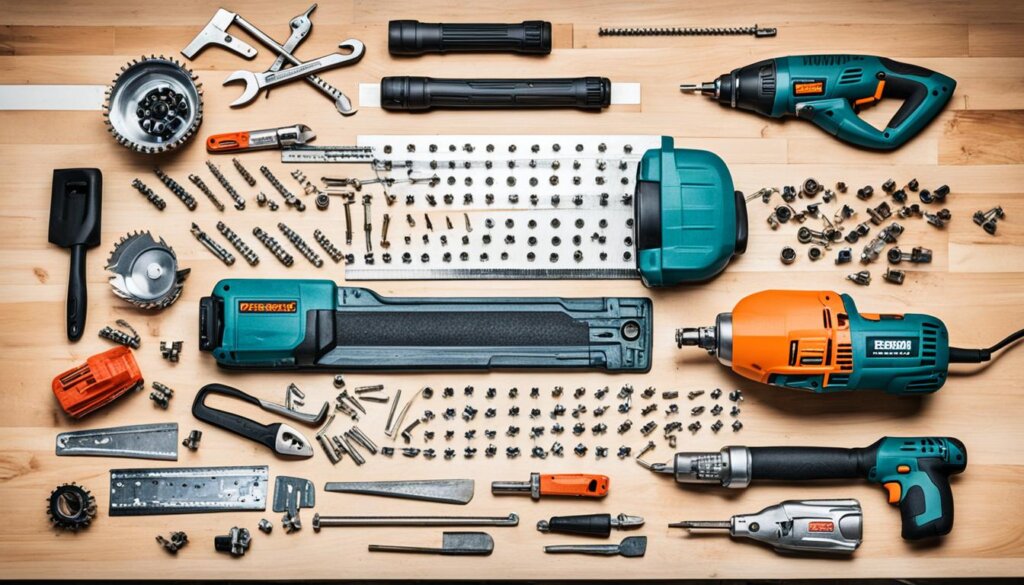
To start, make sure you have safety gear like a mask, gloves, and goggles. These are vital for protection during the renovation.3 You’ll also need a caulking gun and silicone to seal and waterproof. Other must-haves include a hammer, tape measure, spackle knife, spackle, stud finder, power drill, and pry bar.
Optional but Recommended Tools
Some extra tools, though not must-haves, can simplify the process. For instance, a wet-dry Shop-Vac is great for spills,3 and a cordless drill improves mobility.3 These optional tools help with various tasks, making your remodel project smoother and more successful.

With the right tools, DIY enthusiasts can confidently approach bathroom renovations. They can finish the work safely and efficiently.34
Gutting the Bathroom for Renovation
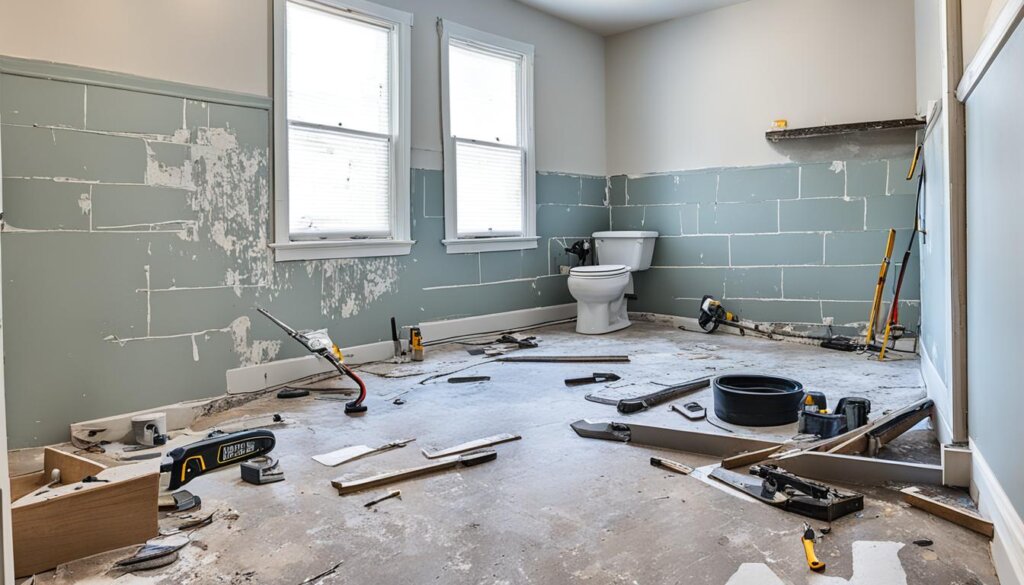
If you’re redoing your bathroom, the first step is to take out the walls and old fixtures. Turn off the water and remove the toilet to make sure there are no leaks.2 Cover the bathtub if you’re removing it. Take off the tiles carefully. Then, get rid of the insulation, cabinet, mirror, and other items you’ll change.
Remove Bathroom Fixtures
Cut the insulation with a saw to avoid accidents.1 Put on a mask, gloves, and goggles for safety.1 Getting a dumpster makes cleaning up easier.1
Tips for Safe and Efficient Demolition
2 Think about where things like the sink and faucets will go. This affects the pipes. For instance, changing the sink might need us to move the plumbing.2 It’s key to keep to a schedule for checks by the town’s building inspectors. Plumbing can’t go on without the electrician looking, which shows how tightly construction is watched.
2 Tiling in the bathroom demands being really careful. Waterproofing and getting the angles right matters a lot.2 It’s hard to find pros who know how to apply microcement. This shows why we need experts in special building skills.
2 Big changes, like taking out the tub and redoing the shower, can cost a lot.2 Sometimes, not having enough glass for windows or showers can slow things down. Such issues can mess up the whole project’s timing.
Installing New Shower or Bathtub
First, remove everything from the bathroom. Look for water damage on the floor. You’ll need to fix this before you put in the new shower or tub.2 Finding the right professional for unique tasks, like using microcement, might be hard. This can slow down your renovation plans.2 Also, getting materials has been tough due to COVID-19. This can affect when you get your project done, especially if you need things like glass for showers.2
Choosing the Right Basin or Pan
Pick a shower or tub basin that matches your style and space. There are different shapes like rectangular, square, or pentangle. Think about your bathroom layout to find the best fit.
Preparing the Subfloor
Checking the subfloor is very important. Look out for rotted areas or water damage.2 Waiting for materials, such as windows, can make your renovation take longer. This can mess up your schedule.2 If you find any problems, replace the subfloor. This will keep your new fixtures solid and secure.
Laying New Bathroom Flooring
Prepping the subfloor comes first. Then, it’s time to put in the new bathroom flooring. Tile is a top pick for bathrooms because it’s tough and stands up to water well.5 However, there are other choices that are easier on the budget and DIY-friendly, like laminate or luxury vinyl plank.5 If you’re going with tile, start by using a mason’s chalk line to draw straight lines. This helps keep your tiles in line.6
Tile Flooring Installation Tips
It’s crucial to really understand what you’re doing to avoid issues like water damage in your home.6 The guide lays out each step clearly for redoing your bathroom floor. It stresses how important it is to plan well.6 You’ll need to take out the old floor, including the base, when you’re putting in a new one. Measure the floor a few times to be sure it’s right before you start.6 Start with good pressure-treated plywood for the base and strong glue for a flat foundation. Then, protect this with a water, moisture, and mold-resistant cement board.6 Figuring out where to place the tiles and how to mix the mortar is key. It recommends using spacers and a trowel to make sure the mortar and tiles go in right.6 Don’t forget to grout right, and clean off any extra grout right away.6 In spots where there’s a lot of moisture, fill in spaces with a good silicone caulk to prevent water from getting through.6 Applying a sealant on the grout is also a good idea to keep it looking great for a long time.
Alternative Flooring Options
Tile is a classic, but there are more choices, like laminate or luxury vinyl plank, which may be easier on your wallet.5 Ceramic and porcelain tiles are long-lasting and resist water, making them good for bathrooms.5 Vinyl is affordable and comes in many designs.5 Waterproof laminate looks like hardwood but handles water better.5 If you’re looking for luxury, natural stone is a beautiful option. Just know, it’s pricier and needs more care.

Drywall, Painting, and Tiling
Now that the bathroom is stripped down and new fixtures are in, let’s focus on drywall, painting, and tiling. Getting the drywall up right, making shower and tub walls waterproof, and picking the best bathroom paint are key. These are big steps in your DIY bathroom renovations.
Proper Drywall Installation Techniques
The first thing you’ll need to do is hang the drywall right. Cover seams and fill up gaps with drywall mud and tape.7 It took about 3 days to set up the drywall. For shower and tub areas, don’t use regular drywall. Use cement board and waterproof it to keep your walls safe from water.
Waterproofing Shower and Tub Walls
For shower and tub walls, go with cement board, not drywall. Put a waterproofing membrane like RedGard on the cement board. It protects the walls from water damage.7
Choosing Paint for Bathrooms
Once the walls are up, start painting. Use a semi-gloss paint that fights mold and mildew.7 The painting, which involved priming, was done in a day. Semi-gloss paint is great for bathrooms. It’s easy to clean and better at resisting mold than other paint types.
This is a great moment to tile the shower and tub too.7 If you hire pros for this, plan for 8 to 10 days of work.
diy bathroom renovations
Installing Vanities and Cabinets
First, focus on the walls. Then, add the vanity and cabinets. Start with the vanity, sink, and faucet.1 After connecting the drain, work on the mirror, cabinets, and shower trim.
Refinishing Existing Vanities
Updating your bathroom on a budget? You can still make it look new. Refinish your current cabinets, paint them, and put on new hardware.1

Updating Lighting and Electrical
Don’t forget to work on the lighting and electrical when you renovate your bathroom. If your new vanity needs different power outlets, you may need to move them.1 It’s smart to get help from an electrician, especially if you’re not experienced with home wiring.
Lighting is key in any renovation. It changes the look and feel of your bathroom.8 Swapping out old lights can make a big difference. Your bathroom will feel more welcoming and look nicer.
You might also have to do some electrical updates. This can mean moving outlets, adding new wiring, or upgrading your panel.1 A skilled electrician should tackle these jobs to make sure your bathroom is safe and works well.
Completing Plumbing and Final Touches
Getting close to the end of your DIY bathroom renovations means focusing on the plumbing and adding final decorations. This includes replacing or reinstalling the toilet. It’s a key part to make sure your new bathroom works perfectly.9
Reinstalling or Replacing Toilet
After setting the new flooring, walls, and fixtures, it’s time for the toilet. You might choose to reinstall the old one or go for a new toilet that matches your design. Set the toilet on the floor and reconnect the water. Make sure it’s sealed correctly.
This job usually takes a day, especially if it’s your first time setting up a toilet.9
Adding Decorative Elements
The final touch is adding decorations to your diy bathroom renovations. Include window treatments, storage boxes, and wall art. These items will help set the mood and finish off the room. They’ll also show off your design taste. Plus, they’ll make your upgraded plumbing-efficient bathroom a joy to use for a long time.9

Conclusion
You can make your bathroom stylish and useful by carefully following these steps. This project needs planning, the correct tools, and close attention to each part.10 With the right attitude and patience, a DIY remodel will bring you joy for many years.1011
DIY bathroom renovations can save you money on materials.10 Whether to do it alone or hire a pro is up to you, considering your skills and the project’s size.11 Doing it yourself can be much cheaper than hiring help,11 but be careful with complex work. Always seek advice when needed.11
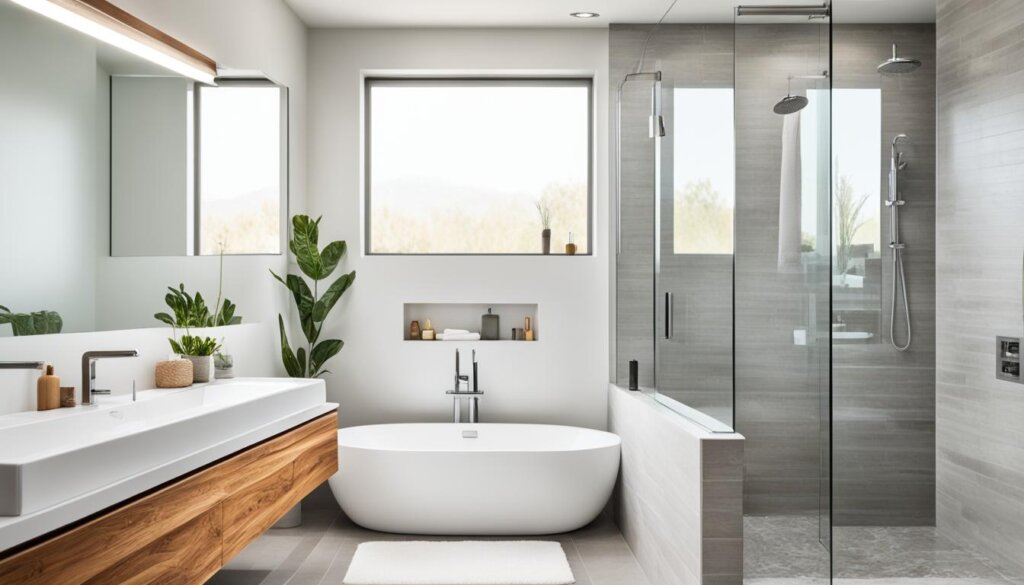
With careful planning and the right choices, your bathroom can be just what you need, showing your unique style.1011 If you want to change colors, upgrade fixtures, or even change the whole layout, this guide has you covered. It offers the info and motivation you need to turn your bathroom ideas into real projects.
FAQ
What design elements should I consider when planning a DIY bathroom remodel?
Choose a design that suits what you want and what you can do. Think about the colors you like and new items such as a shower or sink. Also, plan for how you will store things with shelves or cabinets.
What are some essential tools needed for a DIY bathroom renovation?
For a bathroom redo, you need more than just the basics. Tools like a mask, gloves, and a hammer are must-haves. Don’t forget a caulking gun, goggles, and a power drill. If you can, get a wet-dry Shop-Vac and a cordless drill too.
How do I safely remove existing bathroom fixtures and materials?
Turn off the water and empty the toilet before starting to avoid messes. For safety, wear a mask, gloves, and goggles. A saw is good for cutting out old materials safely.
How do I prepare the subfloor before installing a new shower or tub?
Check the subfloor for any damage and fix it before you start. This makes sure your new shower or tub will be okay for a long time.
What are some tips for laying new bathroom flooring?
People often choose tile for the floor, but there are other options. Laminate or luxury vinyl plank are wallet-friendly picks too. Use a chalk line to keep your tile straight when you put it down.
How do I properly install drywall and waterproof the shower/tub walls?
For shower and tub walls, use cement board, not drywall. Then, waterproof them with a product like RedGard. When it’s time to paint, use semi-gloss for wall protection against mold.
How do I install a new vanity and cabinets?
Start by putting in the vanity with the sink and faucet. After the drain is set, you can add the mirror and cabinets. If a new vanity is out of your budget, repaint the old cabinets for a fresh look.
What should I consider when updating the lighting and electrical in my bathroom?
Adding new lights and power may mean changing your current layout. This job can be tricky, so it’s smart to get help from an electrician, particularly if you’re not familiar with this work.
How do I complete the final touches on my DIY bathroom remodel?
With the toilet in place, it’s time for the finishing touches. Add trim and your personal style with things like curtains, storage, and art. This brings the whole look together.
Source Links
- https://www.budgetdumpster.com/blog/remodel-bathroom-start-finish
- https://www.joanbissdorf.com/blog/2023/2/18/how-to-remodel-a-bathroom-a-step-by-step-to-bathroom-gut-renovation
- https://aglassofbovino.com/2021/04/planning-tools-diy-sources-for-your-bathroom-renovation/
- https://www.bathroomremodelingteacher.com/steves-must-have-tools
- https://emilioflooringtyler.com/blogs/emilio-flooring-tyler-blogs/diy-bathroom-flooring-installation-guide
- https://www.archway-home-remodeling.com/inspiration-and-ideas/bathrooms/bathroom-floor-remodel-guide/
- https://jenwoodhouse.com/primary-bathroom-remodel-update-insulation-drywall-and-priming/
- https://www.forbes.com/home-improvement/bathroom/easy-quick-bathroom-updates/
- https://www.angiesroost.com/bathroom-remodel-schedule/
- https://orchardbathrooms.com/advice/the-pros-and-cons-of-diy-bathroom-renovation-what-you-need-to-know/
- https://titanbathworks.com/the-pros-and-cons-of-diy-vs-professional-bathroom-remodel/
